How to install MySQL on WSL 2 (Ubuntu)
Table of Contents

How to install and configure MySQL 8.0 on WSL 2 (Ubuntu), this guide assumes WSL 2 is already installed with Ubuntu.
I normally use Laragon for my local development, for most sites this works well.However, for development of Silverstripe CMS projects I regularly have problems exporting my MySQL local MySQL database from Windows and importing to Linux MySQL. This is due to Silverstripe using Pascal case table names. Normally the Silverstripe CMS, on the Linux server will rename the lower case table names generated on Windows MySQL, however the Fluent plugin does not support this feature. I therefore have to manually rename the lower case table names for Fluent to Pascal case. By using MySQL on WSL 2 I get around this problem. I still get the benefit of Laragon for Apache, PHP, Node, HeidiSQL etc.
Update WSL 2 Ubuntu #
- Source: Get started with databases on Windows Subsystem for Linux
Open your WSL terminal (ie. Ubuntu).
Fetch the latest updates and upgrade
sudo apt update && sudo apt upgrade
Enter the password you set when you installed Ubuntu WSL.
Wait for the packages to install, there will be a lot of information scrolling up the screen!
Install MySQL server #
Once the packages have updated, install MySQL server:
sudo apt install mysql-server
Wait for the server to install, again there will be a lot of information scrolling up the screen!
Confirm installation #
Installation can be confirmed by checking the version number:
mysql --version
You should see output like:
mysql Ver 8.0.26-0ubuntu0.20.04.2 for Linux on x86_64 ((Ubuntu))
Secure the MySQL server #
You may also want to run the included security script. This changes some less secure default options for things like remote root logins and sample users.
First start the MySQL server:
sudo /etc/init.d/mysql start
Then run the security script:
sudo mysql_secure_installation
Securing the MySQL server deployment.
Connecting to MySQL using a blank password.
VALIDATE PASSWORD COMPONENT can be used to test passwords and improve security. It checks the strength of password and allows the users to set only those passwords which are secure enough. Would you like to setup VALIDATE PASSWORD component?
Press y|Y for Yes, any other key for No: n
Please set the password for root here.
New password: root
Re-enter new password: root
By default, a MySQL installation has an anonymous user, allowing anyone to log into MySQL without having to have a user account created for them. This is intended only for testing, and to make the installation go a bit smoother. You should remove them before moving into a production environment.
Remove anonymous users? (Press y|Y for Yes, any other key for No) : y
Success.
Note: Normally, root should only be allowed to connect from ’localhost’. This ensures that someone cannot guess at the root password from the network.
Disallow root login remotely? (Press y|Y for Yes, any other key for No) : n
… skipping.
By default, MySQL comes with a database named ’test’ that anyone can access. This is also intended only for testing, and should be removed before moving into a production environment.
Remove test database and access to it? (Press y|Y for Yes, any other key for No) : n
… skipping.
Reloading the privilege tables will ensure that all changes made so far will take effect immediately.
Reload privilege tables now? (Press y|Y for Yes, any other key for No) : y
Success.
All done!
Note: The above is Ok for local development, for a production the server the root user should be secured with a strong password and no external access allowed.
Verify MySQL is running #
To open the MySQL prompt, enter:
sudo mysql
To view the available databases, in the MySQL prompt, enter:
SHOW
DATABASES;
You should see output like:
Database information_schema mysql performance_schema sys 4 rows in set (0.00 sec)
Allow remote access #
Allow the root user to assess the database using basic username and password authentication (no certificate required).
From the MySQL prompt run:
ALTER
USER 'root'@'localhost' IDENTIFIED WITH mysql_native_password BY 'root';
Exit out of the MySQL prompt
exit
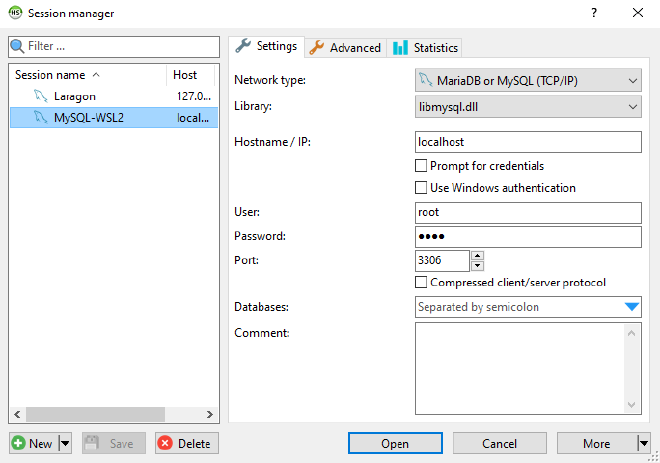
Configure HeidiSQL #
HeidiSQL can now be configured to connect to MySQL 8.0 in WSL
- Click New and give the connection a new name, e.g. MySQL-WSL2
- Library libmysql.dll
- Hostname / IP: localhost
- User: root
- Password: root
Change the default port #
MySQL running in Windows (installed by Laragon) and MySQL WSL Ubuntu can not run at the same time using the same port ( default 3306), one will need to be changed to avoid conflicts.
- source AskUbuntu - How to change mysql8.0 default port
Open your WSL terminal (ie. Ubuntu).
sudo nano /etc/mysql/my.cnf
Add these lines to use post 33061:
[mysqld]
port = 33061
Save (write) the file and exit nano (CTRL+W enter, CTRL+X)
Restart MySQL to load the new config:
sudo service mysql restart
Remember to change the port in HeidiSQL and any .env files.
Start MySQL automatically when WSL starts #
Each time WSL is shutdown MySQL will also stop, when WSL is started MySQL does not automatically start, although it could be configured to do so!
Open your WSL terminal (ie. Ubuntu).
sudo update-rc.d mysql defaults
Now every time WSL is started, MySQL will also start.
Manually start MySQL #
If MySQL is not needed everytime WSL is started, it can be manually started
Open your WSL terminal (ie. Ubuntu).
sudo service mysql start
Troubleshooting #
Typical errors and possible reasons #
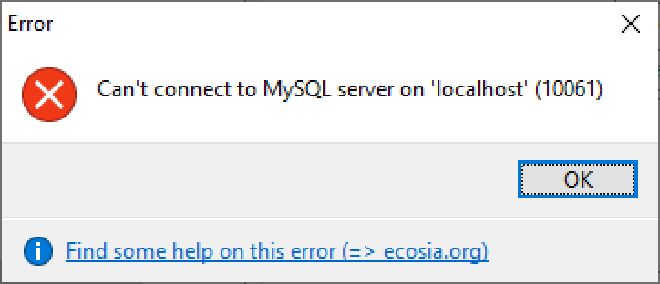
This is the error when MySQL is not running:
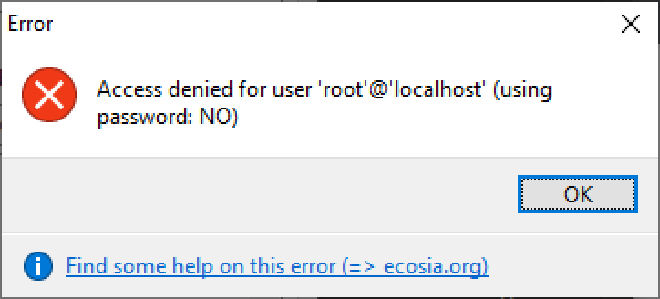
When you try to connect without using a password (note: using password: NO)
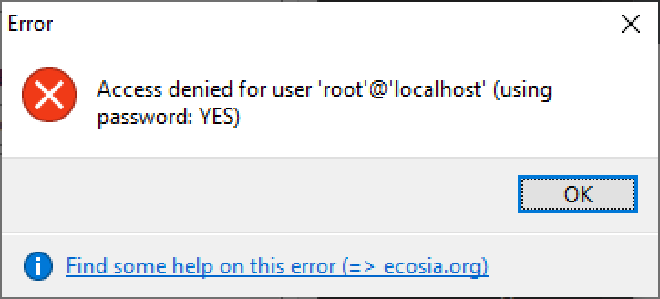
When you try to connect using the wrong password (note: using password: YES):
Basic troubleshooting #
Basic troubleshooting steps can be performed
make sure WSL is started
check the MySQL server is running
source and more information How to fix common problems with MySQL databases
Check the server is running #
Check that the service is running If your website cannot connect to your database, it is possible the service is simply not listening. Check your MySQL state, on Ubuntu and Debian systems this can be done with the following command.
Open your WSL terminal (ie. Ubuntu).
sudo service mysql status
When running the stats will be displayed:
- /usr/bin/mysqladmin Ver 8.0.26-0ubuntu0.20.04.2 for Linux on x86_64 ((Ubuntu)) > Copyright (c) 2000, 2021, Oracle and/or its affiliates.
Oracle is a registered trademark of Oracle Corporation and/or its affiliates. Other names may be trademarks of their respective owners.
Server version 8.0.26-0ubuntu0.20.04.2 Protocol version 10 Connection Localhost via UNIX socket UNIX socket /var/run/mysqld/mysqld.sock Uptime: 2 hours 12 min 21 sec
Threads: 2 Questions: 743 Slow queries: 0 Opens: 598 Flush tables: 3 Open tables: 151
Queries per second avg: 0.093
If MySQL is not running it will simply show:
- MySQL is stopped.
If your service status says something other than ‘running’, try to restart the process using the same service command as before but with ‘restart’ instead of ‘status’.
sudo service mysql restart
- Stopping MySQL database server mysqld [ OK ]
- Starting MySQL database server mysqld
> su: warning: cannot change directory to /nonexistent: No such file or directory [ OK ]
To fix the error with /nonexistent directory:
- Source serverfault.com - MySQL /nonexistent home vs “No directory, logging in with HOME=/”
sudo service mysql stop
sudo usermod -d /var/lib/mysql/ mysql
sudo service mysql start
Check the MySQL server for errors #
To check the error log:
sudo grep -i error /var/log/mysql/error.log
Example output:
2021-08-08T16:45:10.239063Z 0 [ERROR] [MY-010257] [Server] Do you already have another mysqld server running on port: 33060 ?
This error happened when I tried to set port=33060, the MySQL server failed to restart, which I way I used 33061 😉
Check the port #
- source: ServerFault - How to check what port mysql is running on
mysql -u root -p
Enter the root password set earlier (e.g. root)
From the mysql> prompt:
SHOW
GLOBAL VARIABLES LIKE 'PORT';
The output will show the configured port, e.g.:
Database Value port 33061 1 row in set (0.00 sec)
Stop MySQL and WSL #
To close WSL
If you are in the WSL terminal (i.e. Ubuntu).
exit
Open PowerShell and run:
wsl --shutdown