How to set up Laragon on a new Windows computer (part 4) - Enable security
Table of Contents

This is part 4 on how to set up and install Laragon.
When developing projects, the development environment should be as close as possible to the production one. We are already at a disadvantage developing on Windows when normally, our production environment is Linux. We can not do anything about this, we have a Windows computer! We can and should enable security.
Certificates #
Laragon makes security certificates for local development a doddle, this is a two-step process.
Enable SSL #
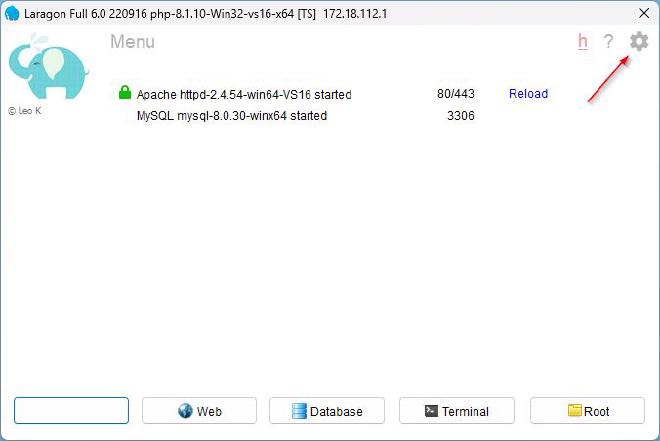
Select the Laragon Preferences cog in the top right
Enable SSL by clicking the Enabled checkbox in line with Apache SSL.
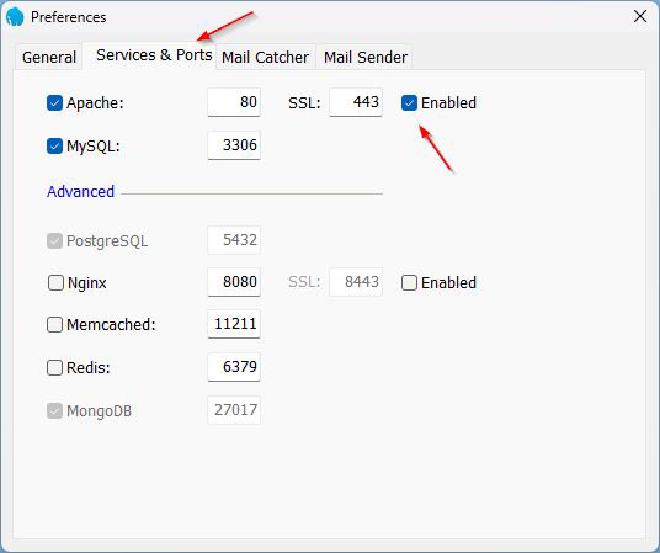
Close the Preferences by clicking the X
Add the certificate to the trusted store #
From the Laragon menu, click the Menu, choose Apache, choose SSL, select Add laragon.crt to Trusted Store
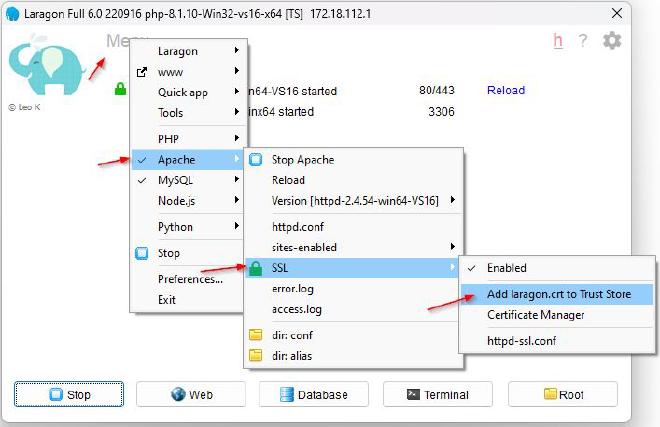
Elevated user access control is required.
Launch Web #
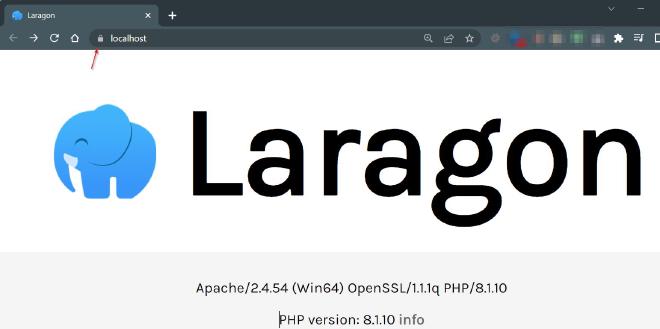
Next click the Web button, which will launch the Laragon https://localhost site. If all has gone well it will have a padlock 🔒.
Troubleshooting #
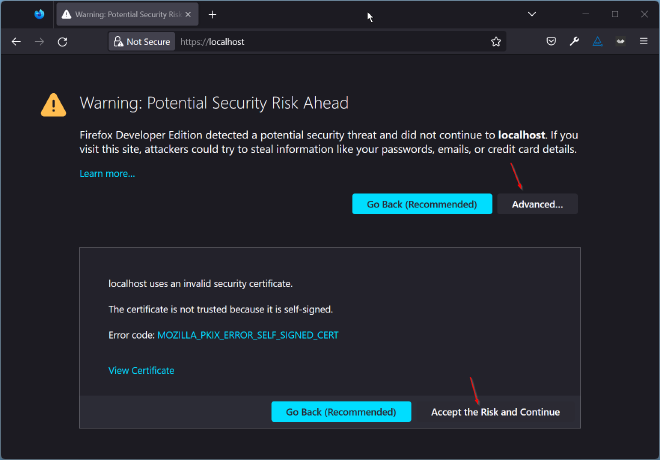
Accept the Risk #
Some browsers have extra security for self-signed certificates. There is normally a way to accept, for example with Firefox, choose Advanced… and then Accept the Risk and Continue
For other browsers Google “<browser name> how do I allow self-signed certificates on localhost”, there are many fixes.